Edit Raw in Photoshop
Run Photoshop filters on your raw files while keeping full editing flexibility
The Traditional Problem
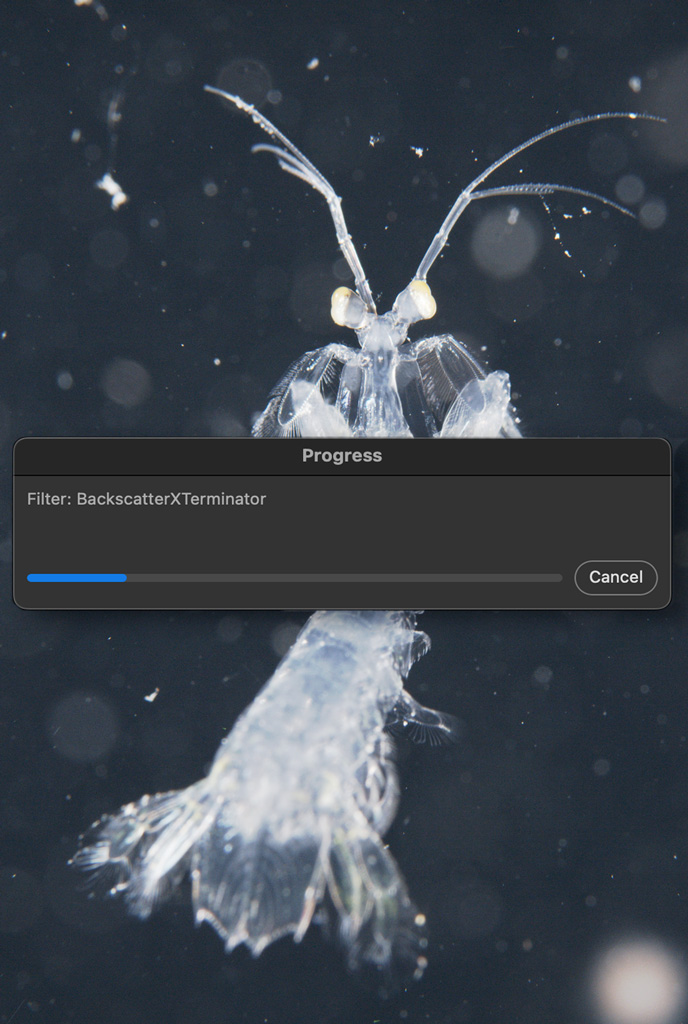
When you need to use Photoshop tools on a raw file—things like BackscatterXTerminator for underwater photos, specialized noise reduction, or complex healing—you typically use Lightroom's "Edit in Photoshop" command. This creates a large TIFF file (often 100+ MB) that loses all raw editing flexibility.
Once you've gone down that path, you're stuck with those exposure, white balance, and tone curve settings forever. Want to adjust the white balance later? Too bad—you'd have to start over from scratch.
A Better Way: Reversible Raw Processing
Edit Raw in Photoshop takes a fundamentally different approach. Instead of permanently baking your raw development into pixels, it uses a reversible algorithm that gives you the best of both worlds: run any Photoshop filter you want, then get back a DNG file that's still fully adjustable in Lightroom.
The key insight is that standard raw development can be mathematically reversed. When you save your edited file, the plugin "undevelops" the pixels back into raw data, embedding your Photoshop edits so they persist through any future raw adjustments.
How It Works
The process happens in several stages:
- Forward Development: Your raw file goes through the standard development pipeline—demosaicing, white balance, exposure, tone curve, and color adjustments—producing a full-color TIFF that opens in Photoshop.
- Photoshop Editing: You apply whatever filters or edits you need in Photoshop. Clone out backscatter, run noise reduction, use Content-Aware Fill—anything goes.
- Reverse Development: When you save, the plugin reverses the development process, mathematically "undeveloping" your edited pixels back through the tone curve, exposure, white balance, and color adjustments to produce modified raw data.
- DNG Creation: This reversed data is saved as a new DNG file—about one-third the size of a TIFF—with your Photoshop edits embedded in the raw data.
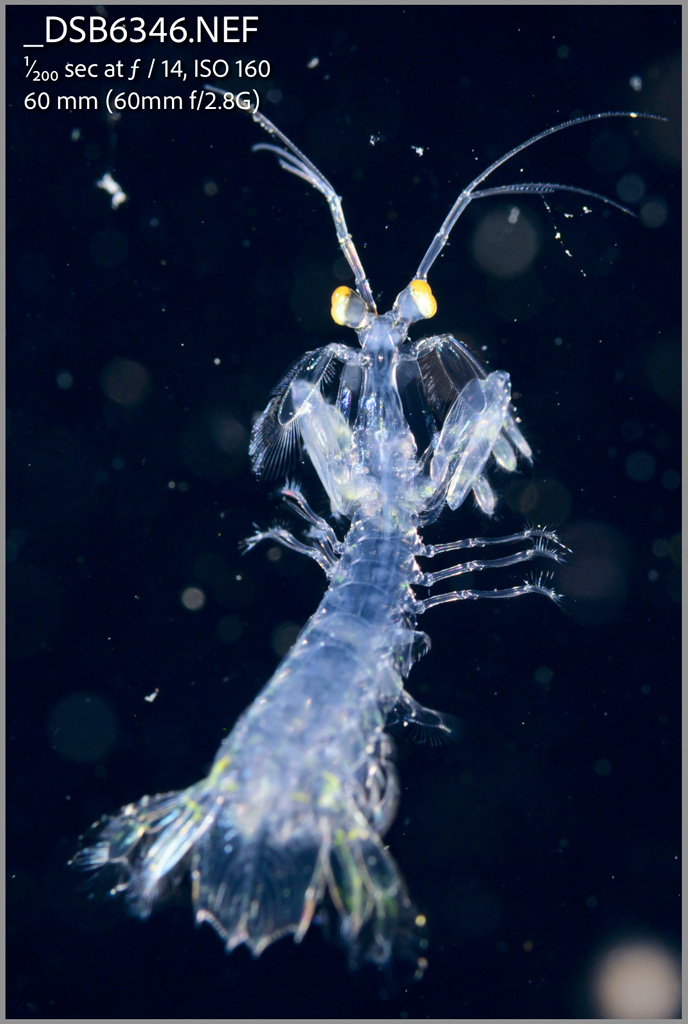
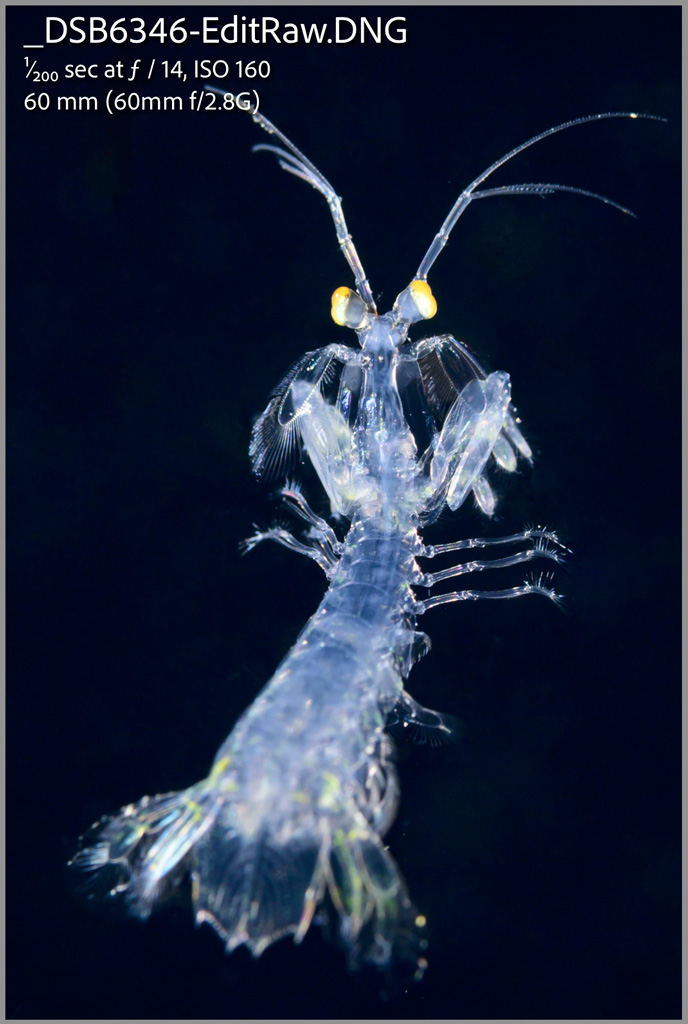
Original in Lightroom → Edit in Photoshop → DNG back in Lightroom
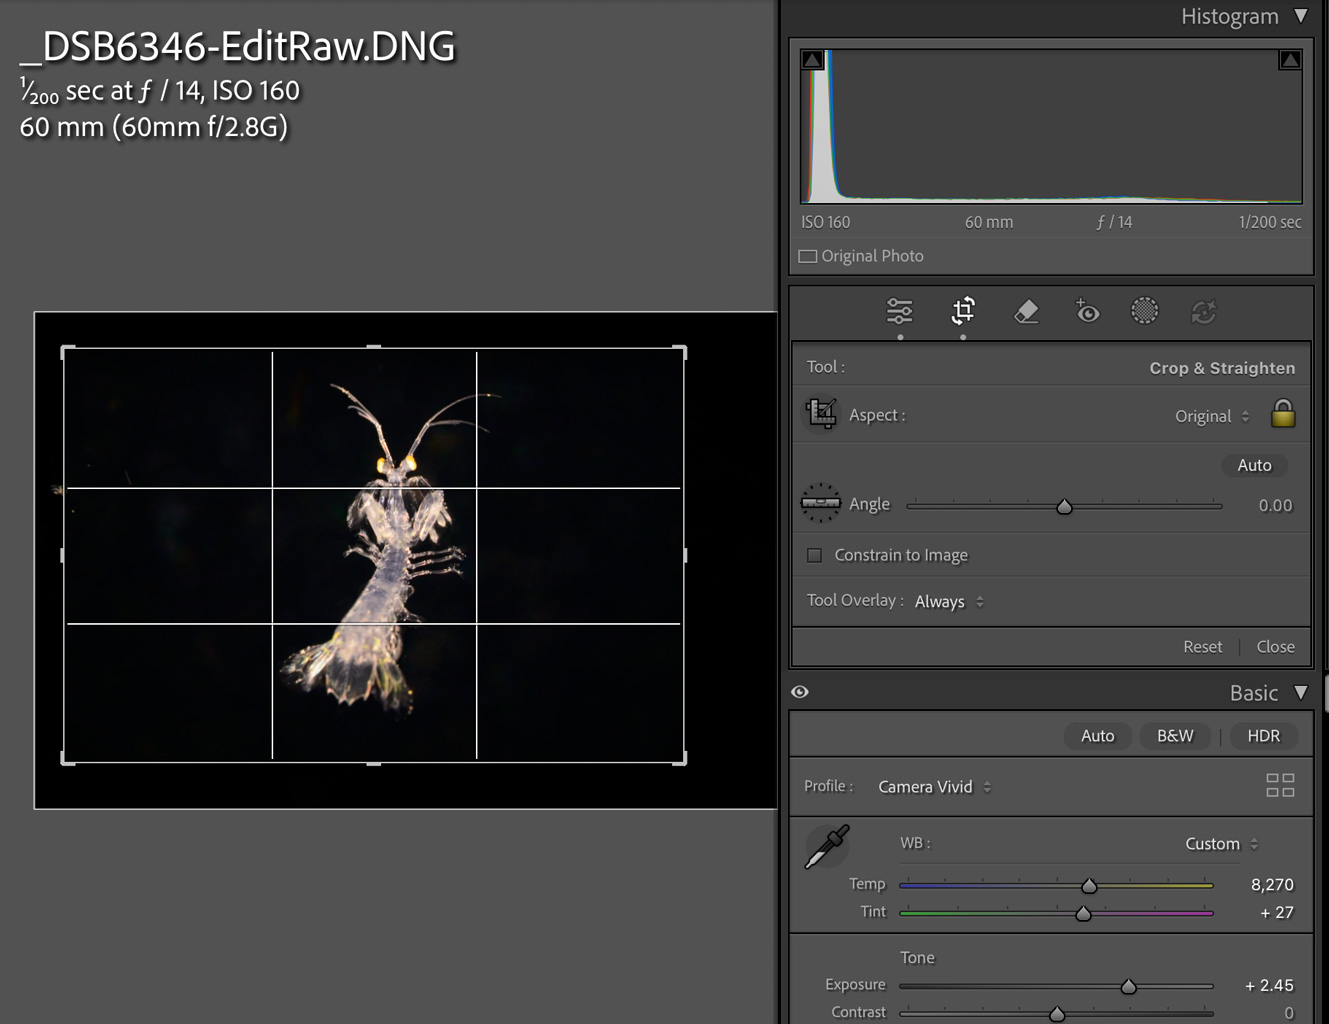
You can continue to adjust white balance, crop, and exposure even after returning from Photoshop
Why This Works
Raw development is essentially a series of mathematical transformations: multiply by white balance coefficients, apply a gamma curve, transform through a color matrix, and so on. Each of these operations has an inverse. By carefully tracking what was done during development, the plugin can undo those same operations in reverse order.
The plugin even re-bayers the data back into a mosaic pattern, just like the original sensor output. This provides significant size savings and—importantly—allows you to apply Adobe's AI-powered Raw Details and Denoise to the output file, something that only works on true raw data.
Your Photoshop edits become part of the raw data itself. When you later adjust exposure or white balance in Lightroom, those adjustments apply on top of your Photoshop work, just like any other raw file.
The Benefits
- Small files: DNG output is roughly one-third the size of TIFF files
- Full adjustability: Change white balance, exposure, highlights, shadows, and tone curves after your Photoshop edits
- Non-destructive workflow: Your original raw file is never modified
- Perfect for iterative work: Run the plugin multiple times as you refine your processing
- Lightroom integration: Output files appear in your catalog ready for further adjustment
Perfect For
- Underwater photography: Run BackscatterXTerminator or similar tools, then fine-tune white balance for tricky underwater lighting
- Complex retouching: Use Photoshop's healing and cloning tools while preserving raw flexibility
- Specialized filters: Apply third-party Photoshop plugins that have no Lightroom equivalent
- Experimental editing: Keep your options open when you're not yet sure about the final look
How to Use
- Select the raw file you want to edit in Lightroom
- Optionally apply rough initial Lightroom adjustments (exposure, white balance, etc.)
- Go to File → Plug-in Extras → Ryan's Raw Tools → Edit Raw in Photoshop
- The file will open in Photoshop as a TIFF—apply your filters and edits
- Save the file in Photoshop (Cmd/Ctrl+S)
- The plugin converts your edit back to a DNG and imports it into Lightroom
- Continue adjusting the new DNG with full raw editing flexibility
Note: The output DNG contains your Photoshop edits baked into modified raw data. While you retain full raw adjustability for exposure, white balance, and tone curves, the specific Photoshop edits themselves (like clone stamps or filter effects) cannot be individually undone—they're part of the pixel data.
If you want to make further changes after saving the file in Photoshop, please choose "Edit Raw in Photoshop" again inside Lightroom on either your first edited file or the original raw to start fresh. Lightroom does not detect changed raw data inside an existing DNG and a new DNG file must be created for any further edits.
Ready to Get Started?
Edit Raw in Photoshop is included free with Merge Raw.
Download Merge Raw